
Not long after I finished the orecchiette, I was reading on a friend’s blog about how much her son, who apparently can be quite a picky eater, relished soba noodles. Still in the pasta making mindset, a light bulb went off that I had never made soba noodles. In fact, I think I’ve only eaten them a handful of times. For some reason they just aren’t something I think to buy.
 |
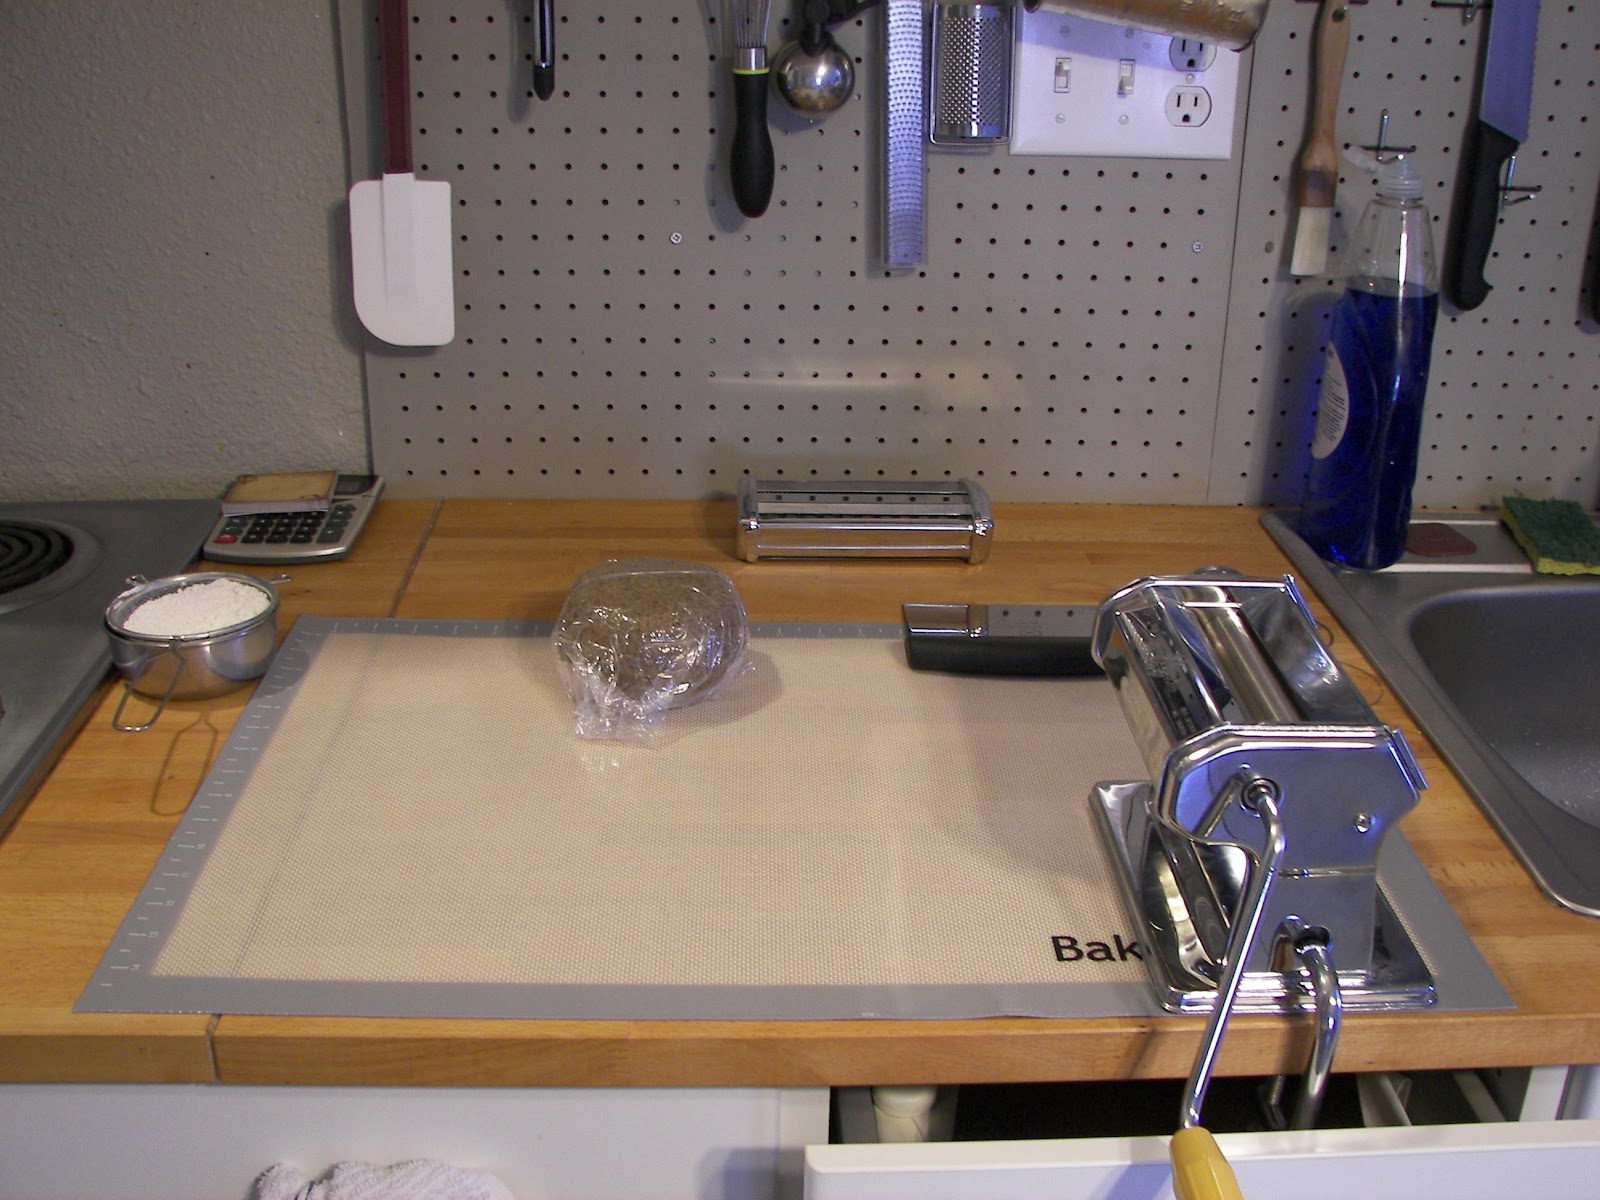
| dough after resting |
Since I wasn’t that familiar with them, I did a little online research. Most of the recipes I found included using a combination of buckwheat and whole wheat flour at an 8:2 ratio. Some recipes used whole eggs, some used whole eggs and yolks, some used oil, some didn’t. I figured with all of the variations out there, I’d apply what I learned, wing it and adapt the recipe I used for the orecchiette.
Let me begin by saying I don’t think the dough for soba noodles (at least my version) is ideal for the food processor. I don’t have a photo of the mess I made because my hands were covered, covered, in thick, sticky buckwheat dough. (The recipe below does not include using the food processor.) I ended up kneading a small amount of extra buckwheat flour into the dough to firm it up a little. When it got to the point that I could handle it without it sticking to me, I wrapped it up and stuck it in the refrigerator.
 |
| noodles cut by machine |
The next day I rolled out some of dough to cut noodles by hand. It didn’t go well. To begin with, I think I actually rolled the dough too thinly. And I didn’t rotate it frequently enough. The dough will stick to a silicon mat – not horribly, but enough to make things difficult. Additionally, although the dough didn’t feel dry, it behaved like it was too dry. I ended up rolling it all back up into a ball, re-wrapping it and putting it back in the refrigerator.
 |
| letter-folded dough |
The extra day in the refrigerator made all the difference. It allowed the flour to fully and evenly absorb the liquid from the eggs. Feeling a bit gun-shy on rolling and cutting the noodles by hand, I got out my manual pasta roller/cutter. After cutting two sheets of noodles, I decided to go back to trying to roll and cut them myself. I didn’t roll the dough as thinly this time and with the extra day resting, it rolled perfectly. And it ended up being much quicker than running small pieces through the pasta machine repeatedly.
 |
| cutting noodles by hand |
Several of the recipes I found included photos on how to cut the noodles. It appeared as though the dough was letter folded and sliced. I cut the noodles that way and then laid them out in a single layer on flour sack towels to dry. Apparently as they dried and contracted, the pull on the folded areas was enough to break the noodles apart. While I’m not heartbroken over that, the noodles cut with the pasta machine are much more aesthetically pleasing. I think rolling the dough by hand and cutting the noodles with the machine would be the ideal solution.
 |
| original drying method |
As for drying, my original thought was to leave the noodles to air dry. The weather has intervened and since it’s been damp and rainy I ended up putting them in the dehydrator. I wasn’t thinking about how much they had dried when I cooked some for dinner this evening; and I’m not sure if soba noodles needed longer to cook than traditional pasta. They needed more time than I gave them and were very al dente in my stir fry. I think I’ll boil another handful tomorrow just to see how they are when properly cooked.
 |
| the finished noodles |
Soba Noodles
2 cups buckwheat flour
1/2 cup whole wheat flour
4 large eggs
1 tsp black sesame oil
1 tsp peanut oil
All-purpose flour for rolling
Combine the flours in a large bowl. In a separate bowl, beat the eggs lightly with the oils. Make a well in the center of the flours and add the egg oil mixture. Stir with a wooden spoon, starting in the center and working your way out. When the dough gets too stiff to stir, use clean hands to thoroughly combine.
Form the dough into a ball, wrap in plastic wrap and refrigerate for one to two days. Allow dough to warm up for 20 – 30 minutes before rolling.

Use a mesh strainer or sifter to dust flour on a large silicon mat. (The silicon mat is not required, but definitely makes it easier.) Cut the dough in half, placing half in the center of the flour and re-wrapping the other half. Dust the top of the dough with flour and flatten with the heel of your palm into a disk.
Roll the dough into a rectangle about 1/16th of an inch thick. Rotate and flip the dough frequently and dust with flour as needed to keep from sticking. Very lightly dust the top of the dough with flour and fold into thirds like a letter. Turn the dough so that one of the folded edges and in front of you. Trim the unfolded edges evenly and then cut the noodles from folded edge to folded edge approximately 1/4-inch wide. Transfer the noodles to baking sheets lined with lint free towels and unfold in a single layer. Repeat with the remaining half of dough.
If you prefer to use a pasta roller/cutter, follow the directions with your machine and begin with smaller pieces of dough. When rolling the dough, keep in mind the length of noodles you want. It’s possible to make really long noodles, but storing them may be problematic.
The noodles may be used fresh or dried. For storage, allow the noodles to dry until brittle. If desired, the noodles can be dried in the oven set on the lowest temperature. I've not tried freezing fresh noodles, but that may also be a possibility.
No comments:
Post a Comment
What do you think?